.. I missed Convention! Really once you've been it's hard to not be able to go! Convention has a way of giving you inspiration and you definitely walk away with a wealth of knowledge. I know next year I definitely plan to do everything I can to be at Convention.. especially since it is their 25th Anniversary! Now you don't want to miss out on that, I know I sure don't. To make sure you can be in on the fun contact me today so you can sign up with your own customizable starter kit.
Now here is just one more fun thing - Every year for Convention Stampin' UP! comes out with a different theme and a theme song. I just thought I would share the theme song with you as well!

Showing posts with label convention. Show all posts
Showing posts with label convention. Show all posts
Monday, July 23, 2012


Thursday, August 11, 2011
My Digital Studio: Technique #4 - Color Filling Line Images using Punches
Ok, so I've decided that my laptop is officially in a love hate relationship with me.. or my internet. I'm actually not sure which one it is. Regardless I'm keeping my fingers crossed that I can get this posted!
So are you all ready to learn this new technique?!
Step #1
1. Open your MDS software on your computer.
2. Then you are going to select - New Project
3. Select Tag
4. Select 2 1/4 x 4 1/4 Portrait
5. Create your Own tag
6. Name project
7. Change your background color to Very Vanilla
8. Next add your line Image stamp. I used the bird from the set Friends 24-7
9. Select the shape punch that will work the best for your image. I used the Oval.

10. Fill your punch, by clicking on Paper Fill

11. Now you'll want to double click on your filled punch image to bring up the Punch Image Editor. You are going to drag the Fill paper out of the punch so once again it is blank/empty.
12. When you return to your project you'll be able to see that the punch is there due to the gray squares outlining the punch.
13. Select Drop Shadow from the Punch Menu in Design Center. Set Opacity to 50%, Change Blur to Medium, and change your color to your desired color.
14. Do the same for all other area's that you want to color fill.
15. Once you are all done, Select your image and bring to front.

And there you have my final product. So now whenever you need tags for something.. use MDS :)
I hope that you learned something fun and hope that you'll use it in your future products! This is all for the Techniques on MDS that I learned things about at Convention. I promise I will try post some other ones in the future though!
Thursday, July 28, 2011
My Digital Studio - Technique - Color Filling Stamps
Time for another MDS technique don't you think?! :) Now I know that for a lot of hardcore MDS users you go to the mydigitalstudio.net webpage and you've probably learned most of the techniques that I'm posting, but I still enjoy sharing what I learn with you! So far all the techniques that I've posted I learned at Convention in the Intermediate MDS class that I took. I'm one of these people that LOVES MDS but doesn't go looking to learn tons of new things in my free time... it's called I've got to many other things going on to try keep up with that as well! That being said I've decided that maybe I'm going to have to start "learning" some more fun stuff about MDS!
Anyway... now that i've said all that how about the tutorial for Color Filling Stamps! This is one of the techniques that Holly taught me and it's so fun, I'm sure you will think so too, so here goes:
Step one: Select a "line Image Stamp" such as the Simple Friendship - Friend (below). Now to fill in the flowers you are going to use the Extreme Elements - Splatter image. Change the color of the Splatter image to whatever color you want. I used Baja Breeze and Pixie Pink, as well as Daffodil Delight for one blossom. You will resize the image until it fill just about the size of the flower. If there are a few splatters of color outside of the lines of the flowers that's ok. Especially because when we fill-color when we are stamping/water coloring it is never perfectly in the lines either!
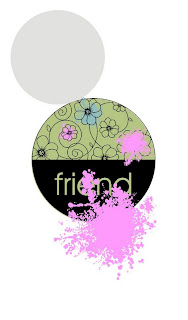
Now to fill the centre of the circle I used the 1.25 circle punch and changed the fill color to Certainly Celery. Once you have everything added and colored you are going to pull the Friend image and layer to the top/front. Save your project and you are ready to go!

Wasn't that quick and easy! So fun, and now you can color your line images in using a simple technique! Once again if you have any questions feel free to ask, I'll be happy to try answer them for you! In the mean time, Happy Creating :)
Wednesday, July 27, 2011
Convention Day #2 - Thursday, July 14
Well, finally back to some more Convention stuff. I've been planning to do this but just hadn't gotten to that point yet! There are already a few pictures up from Convention, but I don't think I did much on the second day. So here goes.... Technically this post should actually be labeled Convention Day 1, but since Wednesday is packed with lots of different activities as well I always end up calling that Day 1.
Now for some fun pictures! Thursday started off with General Session, can you believe it.. over 3000 people (women and men) packed into one area, excited for Convention to begin! General swapping, while we all waited for Main Session to begin.

this years theme was Grow, main stage was all decked out in flowers, the coolest part of all was as Convention went on, they weren't always the same colors!

One of the new walks that was added to Convention, The First Timers Walk, several of the girls in my sideline got to walk on stage!

I couldn't resist taking a picture of the tables where our boxed lunches would be on later.

Look at the lucky winners! Who doesn't like Prize Patrol!

Everyone received a Simply Sent Kit! YAY :D

Dinner at the Olive Garden! Yumm. I think at this point we all needed a break and were just able to enjoy relaxing!


Can you tell how excited I was to be in Salt Lake!?! LOL :) I also took lots of picture of the display area, but I have already posted a sampling of some of those picture while I was at Convention!
Then last but not least, Awards Night is Thursday night.

So that was Thursday!
Thursday, July 21, 2011
More Convention fun
Well I want to share some more "fun" pictures from Convention. I found that the Product display section was AMAZING, and from some of these picture I'm sure you will agree! Enjoy :)


Doesn't this make you want to go to Convention? Ask me for more details and I can tell you how you can attend next year! With creativity, the sky is the limit!
Monday, July 18, 2011
Village of Cute-ness - Convention + One
Check out my cute little Village. This was one of the + One classes that we could choose to register for at Convention this year. At first I wasn't too thrilled that this was the only class that I could still get into, but now that I've got my little houses made I have to admit that they are pretty stinkin' cute! Check them out :)


So here they are.. :)
Convention '11 Goodies!
So obviously I came home with some fun goodies that I got, and some that I bought in Memento Mall. I also won something from Prize Patrol. So more than enough fun things came home with me :D
Here are some pictures of them.

Here is my table full of my "fun" stuff :)

Classes, stamp sets, MDS DVD, Make & Takes, Memento Mall... hmm what else, oh and my Prize Patrol stamp set the Doily!! eeek

Here is my +One class stuff, I did the Village of Cuteness and as you can see my houses aren't done yet. I did what I had to there and left the rest to finish at home.

Memento Mall items: I got two tops which aren't in the picture here, and then a set of pens, the DSP sampler, a garbage can, the Workshop Wow DVD, 2 sets of Workshop Pocket boards, Ribbon samplers, a Snail leash, and the SU! Logo sign to hang up when I do bazaars etc. So definitely lots of fun stuff!!

Here are most of the stamp sets I came home with. One of them was a demonstrator/convention exculsive one which was really exciting. We could earn this one by attending all our classes and having more than 5 stickers in our book! Whooot!
All in all, Convention was awesome and I am so happy that I could go this year! :)
I almost forgot.. but one more thing from Memento Mall... :)
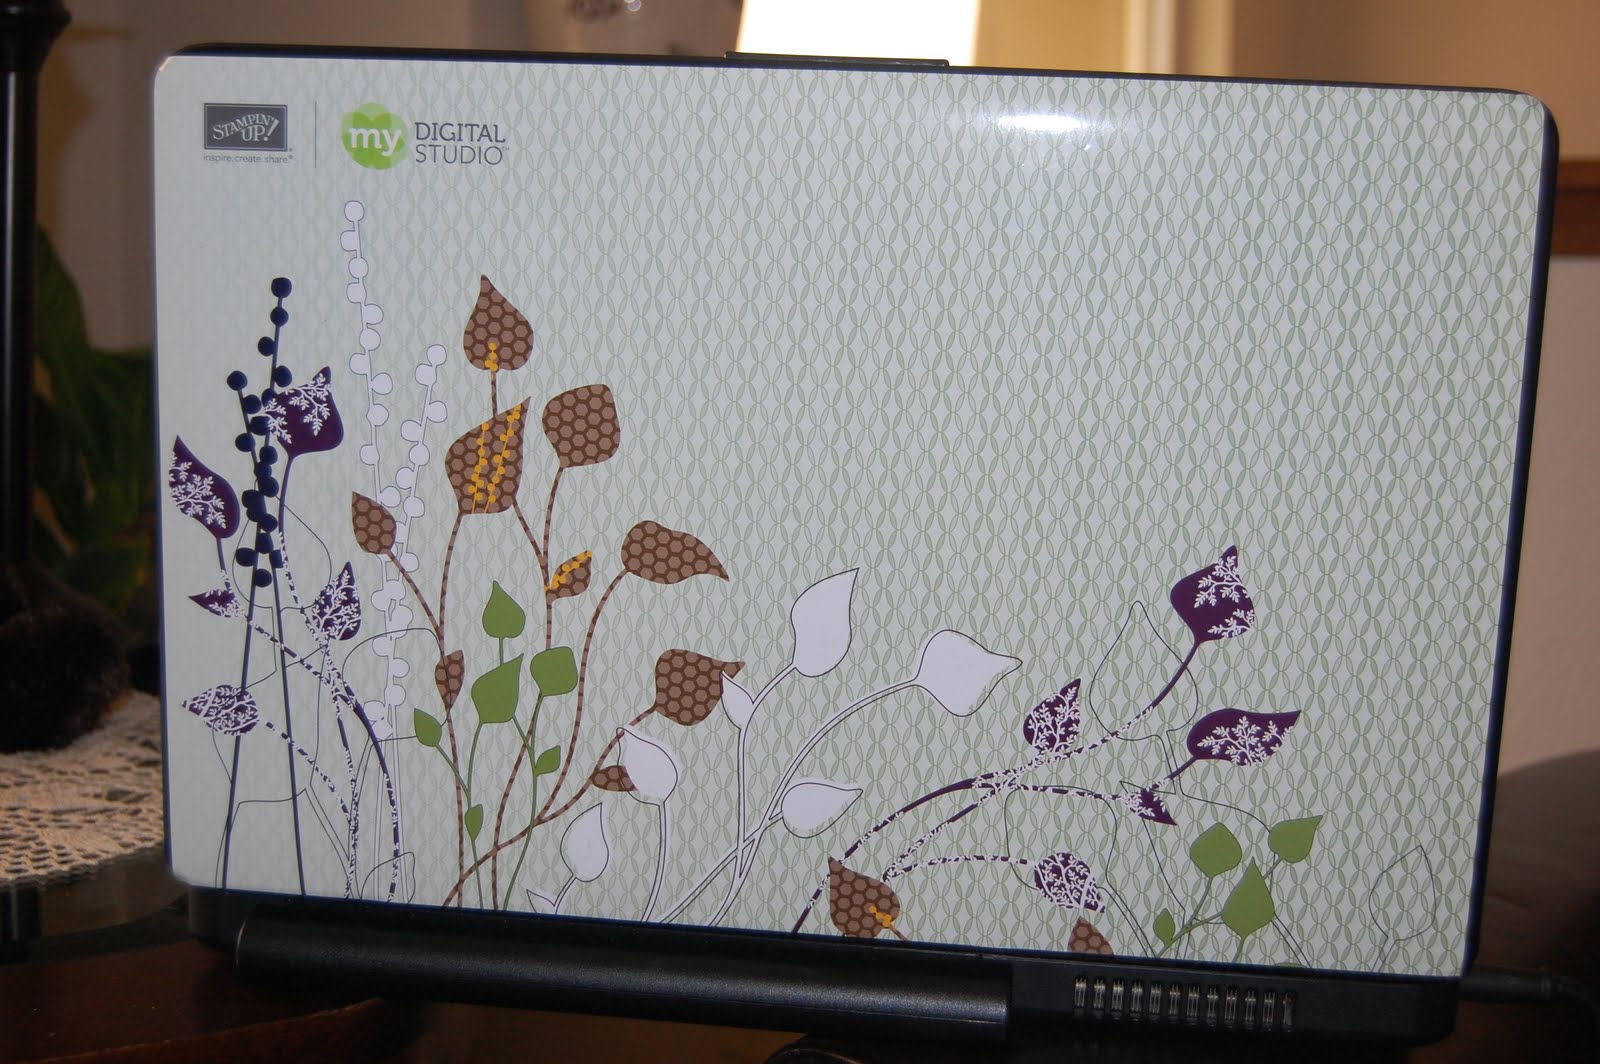
Doesn't my laptop look wonderful now :)
Convention Highlights
Check out the SU! Convention Highlights video!
Ask me how you can attend Convention next year!
Ask me how you can attend Convention next year!
Thursday, July 14, 2011
Convention 2011 - Update #2
So, here is update #2 for those of you who want to see some more! :) All i can say is that there is tons of wonderful things happening at Convention and I'm so excited and thrilled to be part of this experience again! Convention for the 2nd time isn't half as exciting as the first time. Don't get me wrong it's absolutely wonderful but there is not BIG surprises as in not knowing what to expect! Anyway it's all good.. I am super pumped about some of the fun things that we learned about how to use My Digital Studio better in a class today, some of the fabulous give-a-ways that they had.. and the fact that we as demo's at Convention get to SEE/HAVE the Holiday Mini before everyone else!!! Yup top secret so I can't tell you other than I'm sure you'll love it too!


I have lots more that I could share but right now I'm off to Awards Night with some friends! I'll post more later!!
Wednesday, July 13, 2011
Convention 2011 - Update #1
So today was check in day for Convention, the day that we get to get our bag. I'm super excited about the bag, and plan to share pictures of that once I get home. For now since I know some of you really are wanting to see something fun, how is this for fun??! :)
Just before we got to go around the corner into Memento Mall they had a display case full of these cards, with the cutest little card stands every.. what would you know the card stands were in Memento Mall! WHOOOOT :)

I had to take a quick picture of the girl who check me out of Memento Mall.. for my scrapbook, what else lol!


Finally, at the Headoffice/distribution centre in Riverton. YAY :D


Also finally a quick snapshot of the building!

Stampin' Up! I LOVE you!!!
Monday, July 11, 2011
A day should have more hours!
When I'm prepping for a big event, namely going to Stampin' Up!s Convention for demonstrators a day should consist of way more hours so I have countless hours to prep! Right now I'm feeling slightly stressed, not too bad yet though so I'm waiting for the full "freak-out" stress moment to hit me yet! Either way I'm super excited and can't wait to see what fun surprises SU! has for us this time!
I've got a fabric swap I'm participating in that I need to finish my projects for, and then I need to finish some more card fronts just for general swapping! So far I've got about 40 cards made, not nearly enough! Anyway and then I still need to pack! So off I go... If I've got time while I'm at Convention I'll try posting some updates but I'm not promising anything, because they have got events planned for us pretty much for every evening!
I'm so pumped! I can't wait to be sitting on that plane going to SLC!!! in the mean time I need to run so I hope you all have a marvelous day!
I've got a fabric swap I'm participating in that I need to finish my projects for, and then I need to finish some more card fronts just for general swapping! So far I've got about 40 cards made, not nearly enough! Anyway and then I still need to pack! So off I go... If I've got time while I'm at Convention I'll try posting some updates but I'm not promising anything, because they have got events planned for us pretty much for every evening!
I'm so pumped! I can't wait to be sitting on that plane going to SLC!!! in the mean time I need to run so I hope you all have a marvelous day!
Subscribe to:
Posts (Atom)